12 Advanced Topics
12.1 Disk Images
Most disk images in CloudLab are stored and distributed in the Frisbee disk image format. They are stored at block level, meaning that, in theory, any filesystem can be used. In practice, Frisbee’s filesystem-aware compression is used, which causes the image snapshotting and installation processes to parse the filesystem and skip free blocks; this provides large performance benefits and space savings. Frisbee has support for filesystems that are variants of the BSD UFS/FFS, Linux EXT, and Windows NTFS formats. The disk images created by Frisbee are bit-for-bit identical with the original image, with the caveat that free blocks are skipped and may contain leftover data from previous users.
Disk images in CloudLab are typically created by starting with one of CloudLab’s supplied images, customizing the contents, and taking a snapshot of the resulting disk. The snapshotting process reboots the node, as it boots into an MFS to ensure a quiescent disk. If you wish to bring in an image from outside of CloudLab or create a new one from scratch, please contact us for help; if this is a common request, we may add features to make it easier.
CloudLab has default disk image for each node type; after a node is freed by one experimenter, it is re-loaded with the default image before being released back into the free pool. As a result, profiles that use the default disk images typically instantiate faster than those that use custom images, as no disk loading occurs.
Frisbee loads disk images using a custom multicast protocol, so loading large numbers of nodes typically does not slow down the instantiation process much.
Images may be referred to in requests in three ways: by URN, by an unqualified name, and by URL. URNs refer to a specific image that may be hosted on any of the CloudLab-affilated clusters. An unqualified name refers to the version of the image hosted on the cluster on which the experiment is instantiated. If you have large images that CloudLab cannot store due to space constraints, you may host them yourself on a webserver and put the URL for the image into the profile. CloudLab will fetch your image on demand, and cache it for some period of time for efficient distribution.
Images in CloudLab are versioned, and CloudLab records the provenance of images. Image URLs and URNs can contain version numbers, in which case they refer to that specific version of the image, or they may omit the version number, in which case they refer to the latest version of the image at the time an experiment is instantiated.
12.2 RSpecs
The resources (nodes, links, etc.) that define a profile are expressed in the
RSpec
format from the GENI project. In general, RSpec should be thought of as a
sort of “assembly language”—
12.3 Public IP Access
CloudLab treats publicly-routable IP addresses as an allocatable resource.
By default, all physical hosts are given a public IP address. This IP address is determined by the host, rather than the experiment. There are two DNS names that point to this public address: a static one that is the node’s permanent hostname (such as pcXX.<cluster>.net), and a dynamic one that is assigned based on the experiment; this one may look like <vname>.<exp>.<proj>.<cluster>.net, where <vname> is the name assigned in the request RSpec, <eid> is the name assigned to the experiment, and proj is the project that the experiment belongs to. This name is predictable regardless of the physical nodes assigned.
By default, virtual machines are not given public IP addresses; basic remote access is provided through an ssh server running on a non-standard port, using the physical host’s IP address. This port can be discovered through the manifest of an instantiated experiment, or on the “list view” of the experiment page. If a public IP address is required for a virtual machine (for example, to host a webserver on it), a public address can be requested on a per-VM basis. If using the Jacks GUI, each VM has a checkbox to request a public address. If using python scripts and geni-lib, setting the routable_control_ip property of a node accomplishes the same effect. Different clusters will have different numbers of public addresses available for allocation in this manner.
12.3.1 Dynamic Public IP Addresses
In some cases, users would like to create their own virtual machines, and would like to give them public IP addresses. We also allow profiles to request a pool of dynamic addresses; VMs brought up by the user can then run DHCP to be assigned one of these addresses.
Profiles using python scripts and geni-lib can request dynamic IP address pools by constructing an AddressPool object (defined in the geni.rspec.igext module), as in the following example:
# Request a pool of 3 dynamic IP addresses pool = AddressPool( "poolname", 3 ) rspec.addResource( pool ) # Request a pool of 3 dynamic IP addresses pool = AddressPool( "poolname", 3 ) rspec.addResource( pool )
The addresses assigned to the pool are found in the experiment manifest.
12.4 Markdown
CloudLab supports Markdown in the major text fields in RSpecs. Markdown is a simple formatting syntax with a straightforward translation to basic HTML elements such as headers, lists, and pre-formatted text. You may find this useful in the description and instructions attached to your profile.
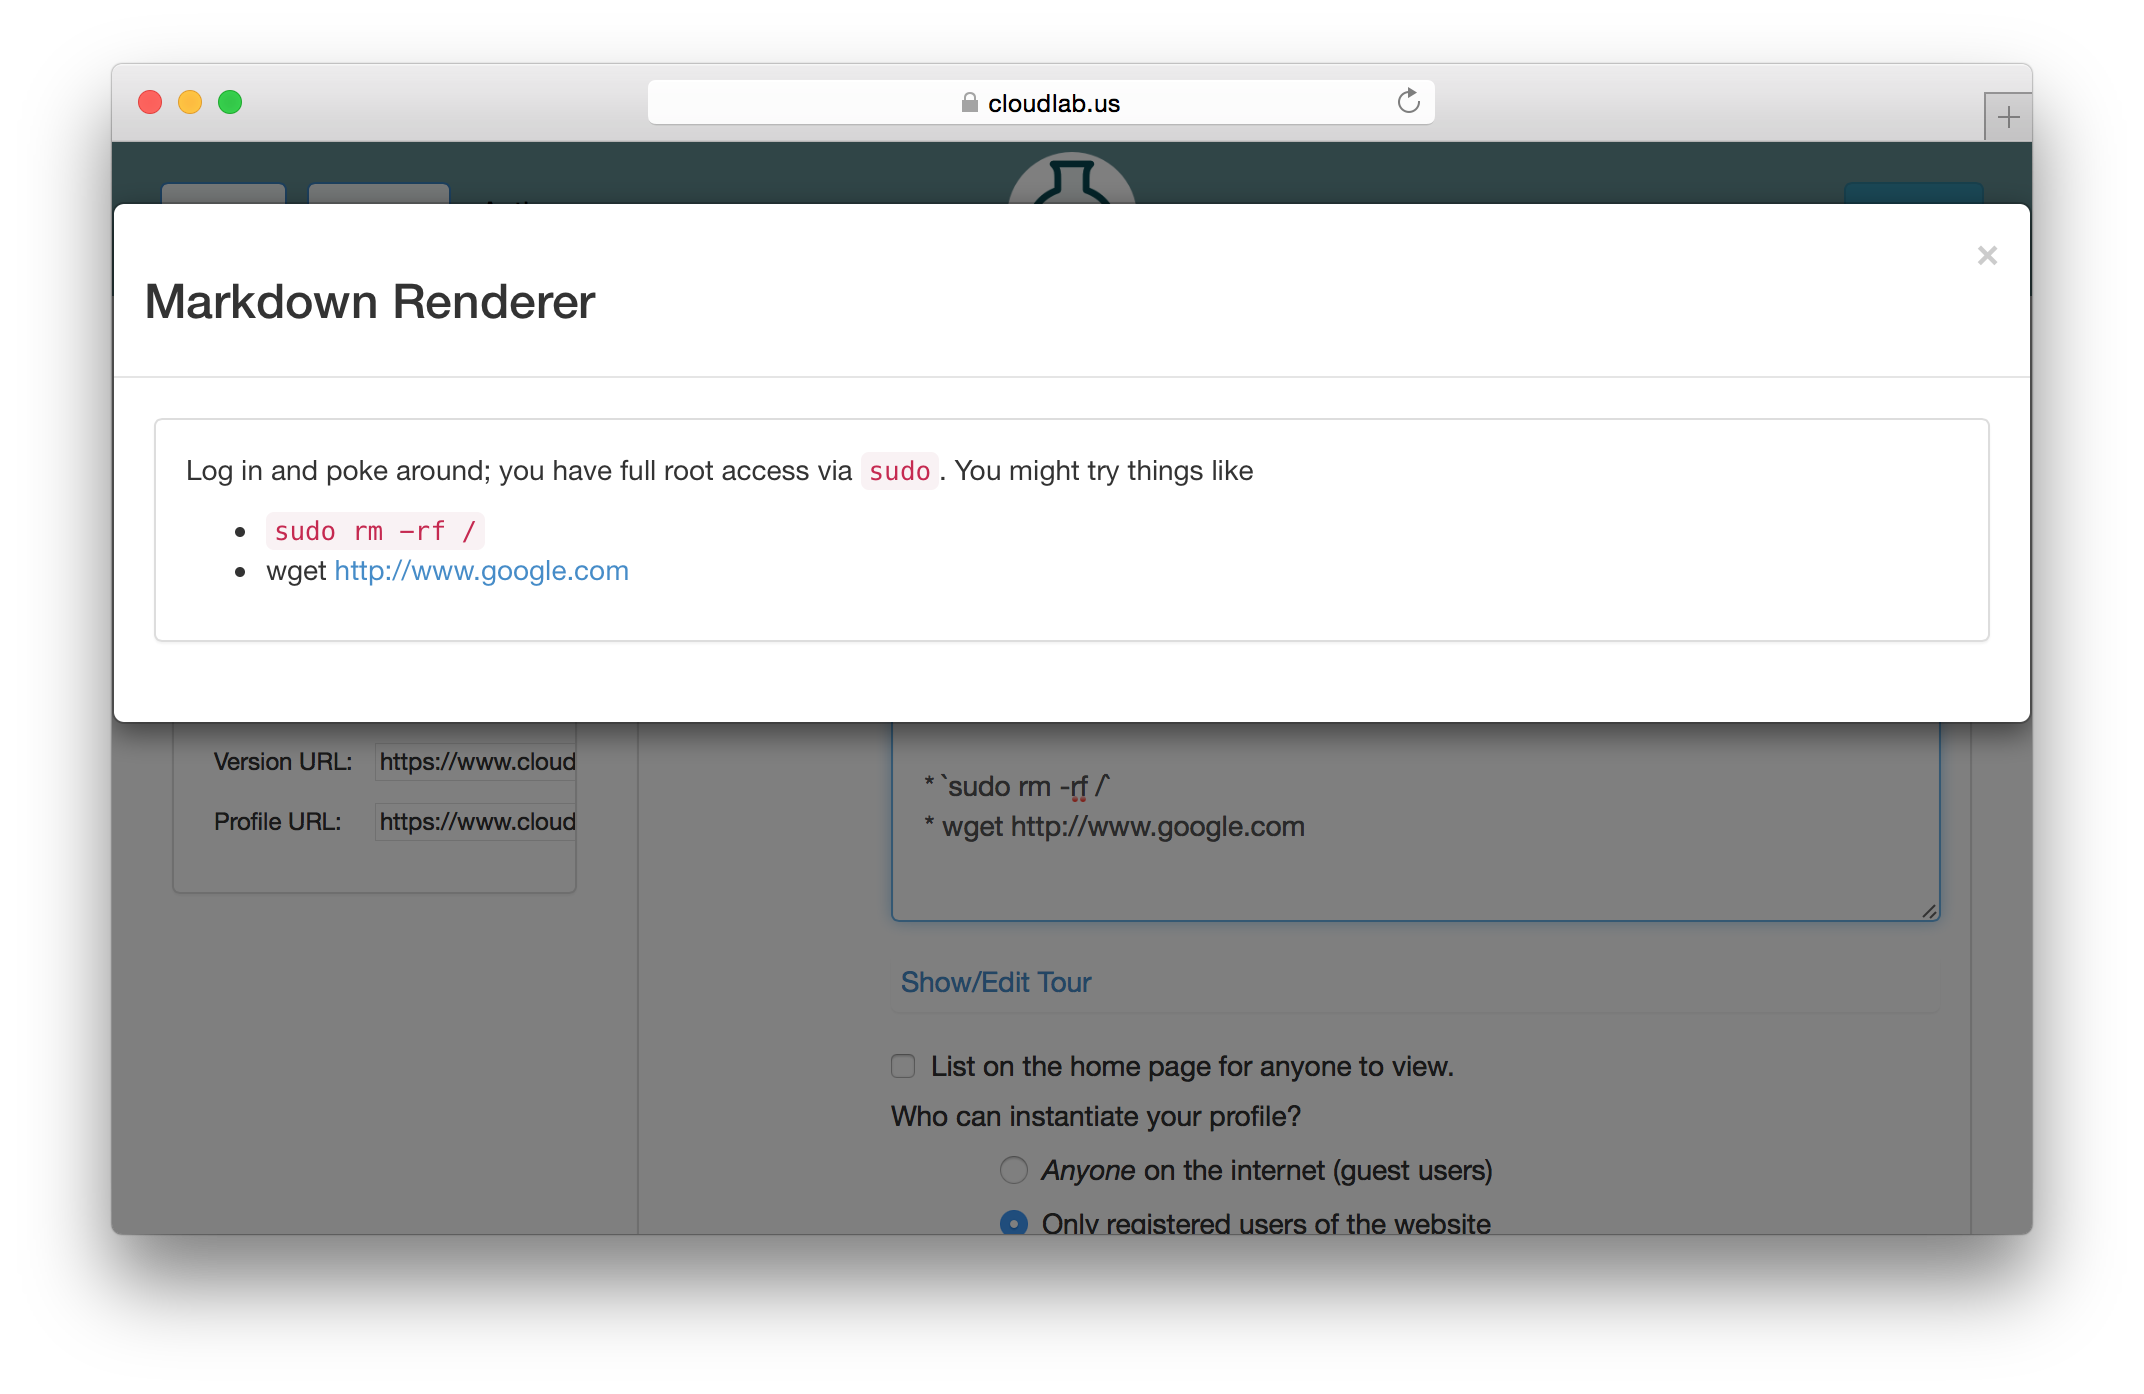
While editing a profile, you can preview the Markdown rendering of the Instructions or Description field by double-clicking within the text box.
You will probably find the Markdown manual to be useful.
12.5 Introspection
CloudLab implements the GENI APIs, and in particular the geni-get command. geni-get is a generic means for nodes to query their own configuration and metadata, and is pre-installed on all facility-provided disk images. (If you are supplying your own disk image built from scratch, you can add the geni-get client from its repository.)
While geni-get supports many options, there are five commands most useful in the CloudLab context.
12.5.1 Client ID
Invoking geni-get client_id will print a single line to standard output showing the identifier specified in the profile corresponding to the node on which it is run. This is a particularly useful feature in execute services, where a script might want to vary its behaviour between different nodes.
12.5.2 Control MAC
The command geni-get control_mac will print the MAC address of the control interface (as a string of 12 hexadecimal digits with no punctuation). In some circumstances this can be a useful means to determine which interface is attached to the control network, as OSes are not necessarily consistent in assigning identifiers to network interfaces.
12.5.3 Manifest
To retrieve the manifest RSpec for the instance, you can use the command geni-get manifest. It will print the manifest to standard output, including any annotations added during instantiation. For instance, this is an appropriate technique to use to query the allocation of a dynamic public IP address pool.
12.5.4 Private key
As a convenience, CloudLab will automatically generate an RSA private key unique to each profile instance. geni-get key will retrieve the private half of the keypair, which makes it a useful command for profiles bootstraping an authenticated channel. For instance:
#!/bin/sh # Create the user SSH directory, just in case. mkdir $HOME/.ssh && chmod 700 $HOME/.ssh # Retrieve the server-generated RSA private key. geni-get key > $HOME/.ssh/id_rsa chmod 600 $HOME/.ssh/id_rsa # Derive the corresponding public key portion. ssh-keygen -y -f $HOME/.ssh/id_rsa > $HOME/.ssh/id_rsa.pub # If you want to permit login authenticated by the auto-generated key, # then append the public half to the authorized_keys2 file: grep -q -f $HOME/.ssh/id_rsa.pub $HOME/.ssh/authorized_keys2 || cat $HOME/.ssh/id_rsa.pub >> $HOME/.ssh/authorized_keys2 #!/bin/sh # Create the user SSH directory, just in case. mkdir $HOME/.ssh && chmod 700 $HOME/.ssh # Retrieve the server-generated RSA private key. geni-get key > $HOME/.ssh/id_rsa chmod 600 $HOME/.ssh/id_rsa # Derive the corresponding public key portion. ssh-keygen -y -f $HOME/.ssh/id_rsa > $HOME/.ssh/id_rsa.pub # If you want to permit login authenticated by the auto-generated key, # then append the public half to the authorized_keys2 file: grep -q -f $HOME/.ssh/id_rsa.pub $HOME/.ssh/authorized_keys2 || cat $HOME/.ssh/id_rsa.pub >> $HOME/.ssh/authorized_keys2
Please note that the private key will be accessible to any user who can invoke geni-get from within the profile instance. Therefore, it is NOT suitable for an authentication mechanism for privilege within a multi-user instance!
12.5.5 Profile parameters
When executing within the context of a profile instantiated with user-specified parameters, geni-get allows the retrieval of any of those parameters. The proper syntax is geni-get "param name", where name is the parameter name as specified in the geni-lib script defineParameter call. For example, geni-get "param n" would retrieve the number of nodes in an instance of the profile shown in the geni-lib parameter section.
12.6 User-controlled switches and layer-1 topologies
Some experiments require exclusive access to Ethernet switches and/or the ability for users to reconfigure those switches. One example of a good use case for this feature is to enable or tune QoS features that cannot be enabled on CloudLab’s shared infrastructure switches.
User-allocated switches are treated similarly to the way CloudLab treats servers: the switches appear as nodes in your topology, and you ’wire’ them to PCs and each other using point-to-point layer-1 links. When one of these switches is allocated to an experiment, that experiment is the exclusive user, just as it is for a raw PC, and the user has ssh access with full administrative control. This means that users are free to enable and disable features, tweak parameters, reconfigure as will, etc. Users are be given the switches in a ’clean’ state (we do little configuration on them), and can reload and reboot them like you would do with a server.
The list of available switches is found in our hardware chapter, and the following example shows how to request a simple topology using geni-lib.
"""This profile allocates two bare metal nodes and connects them together via a Dell or Mellanox switch with layer1 links. Instructions: Click on any node in the topology and choose the `shell` menu item. When your shell window appears, use `ping` to test the link. You will be able to ping the other node through the switch fabric. We have installed a minimal configuration on your switches that enables the ports that are in use, and turns on spanning-tree (RSTP) in case you inadvertently created a loop with your topology. All unused ports are disabled. The ports are in Vlan 1, which effectively gives a single broadcast domain. If you want anything fancier, you will need to open up a shell window to your switches and configure them yourself. If your topology has more then a single switch, and you have links between your switches, we will enable those ports too, but we do not put them into switchport mode or bond them into a single channel, you will need to do that yourself. If you make any changes to the switch configuration, be sure to write those changes to memory. We will wipe the switches clean and restore a default configuration when your experiment ends.""" # Import the Portal object. import geni.portal as portal # Import the ProtoGENI library. import geni.rspec.pg as pg # Import the Emulab specific extensions. import geni.rspec.emulab as emulab # Create a portal context. pc = portal.Context() # Create a Request object to start building the RSpec. request = pc.makeRequestRSpec() pc.defineParameter("phystype", "Switch type", portal.ParameterType.STRING, "dell-s4048", [('mlnx-sn2410', 'Mellanox SN2410'), ('dell-s4048', 'Dell S4048')]) # Retrieve the values the user specifies during instantiation. params = pc.bindParameters() # Do not run snmpit #request.skipVlans() # Add a raw PC to the request and give it an interface. node1 = request.RawPC("node1") iface1 = node1.addInterface() # Specify the IPv4 address iface1.addAddress(pg.IPv4Address("192.168.1.1", "255.255.255.0")) # Add Switch to the request and give it a couple of interfaces mysw = request.Switch("mysw"); mysw.hardware_type = params.phystype swiface1 = mysw.addInterface() swiface2 = mysw.addInterface() # Add another raw PC to the request and give it an interface. node2 = request.RawPC("node2") iface2 = node2.addInterface() # Specify the IPv4 address iface2.addAddress(pg.IPv4Address("192.168.1.2", "255.255.255.0")) # Add L1 link from node1 to mysw link1 = request.L1Link("link1") link1.addInterface(iface1) link1.addInterface(swiface1) # Add L1 link from node2 to mysw link2 = request.L1Link("link2") link2.addInterface(iface2) link2.addInterface(swiface2) # Print the RSpec to the enclosing page. pc.printRequestRSpec(request) Open this profile on CloudLab"""This profile allocates two bare metal nodes and connects them together via a Dell or Mellanox switch with layer1 links. Instructions: Click on any node in the topology and choose the `shell` menu item. When your shell window appears, use `ping` to test the link. You will be able to ping the other node through the switch fabric. We have installed a minimal configuration on your switches that enables the ports that are in use, and turns on spanning-tree (RSTP) in case you inadvertently created a loop with your topology. All unused ports are disabled. The ports are in Vlan 1, which effectively gives a single broadcast domain. If you want anything fancier, you will need to open up a shell window to your switches and configure them yourself. If your topology has more then a single switch, and you have links between your switches, we will enable those ports too, but we do not put them into switchport mode or bond them into a single channel, you will need to do that yourself. If you make any changes to the switch configuration, be sure to write those changes to memory. We will wipe the switches clean and restore a default configuration when your experiment ends.""" # Import the Portal object. import geni.portal as portal # Import the ProtoGENI library. import geni.rspec.pg as pg # Import the Emulab specific extensions. import geni.rspec.emulab as emulab # Create a portal context. pc = portal.Context() # Create a Request object to start building the RSpec. request = pc.makeRequestRSpec() pc.defineParameter("phystype", "Switch type", portal.ParameterType.STRING, "dell-s4048", [('mlnx-sn2410', 'Mellanox SN2410'), ('dell-s4048', 'Dell S4048')]) # Retrieve the values the user specifies during instantiation. params = pc.bindParameters() # Do not run snmpit #request.skipVlans() # Add a raw PC to the request and give it an interface. node1 = request.RawPC("node1") iface1 = node1.addInterface() # Specify the IPv4 address iface1.addAddress(pg.IPv4Address("192.168.1.1", "255.255.255.0")) # Add Switch to the request and give it a couple of interfaces mysw = request.Switch("mysw"); mysw.hardware_type = params.phystype swiface1 = mysw.addInterface() swiface2 = mysw.addInterface() # Add another raw PC to the request and give it an interface. node2 = request.RawPC("node2") iface2 = node2.addInterface() # Specify the IPv4 address iface2.addAddress(pg.IPv4Address("192.168.1.2", "255.255.255.0")) # Add L1 link from node1 to mysw link1 = request.L1Link("link1") link1.addInterface(iface1) link1.addInterface(swiface1) # Add L1 link from node2 to mysw link2 = request.L1Link("link2") link2.addInterface(iface2) link2.addInterface(swiface2) # Print the RSpec to the enclosing page. pc.printRequestRSpec(request)
This feature is implemented using a set of layer-1 switches between some servers and Ethernet switches. These switches act as “patch panels,” allowing us to “wire” servers to switches with no intervening Ethernet packet processing and minimal impact on latency. This feature can also be used to “wire” servers directly to one another, and to create links between switches, as seen in the following two examples.
"""This profile allocates two bare metal nodes and connects them directly together via a layer1 link. Instructions: Click on any node in the topology and choose the `shell` menu item. When your shell window appears, use `ping` to test the link.""" # Import the Portal object. import geni.portal as portal # Import the ProtoGENI library. import geni.rspec.pg as pg # Import the Emulab specific extensions. import geni.rspec.emulab as emulab # Create a portal context. pc = portal.Context() # Create a Request object to start building the RSpec. request = pc.makeRequestRSpec() # Do not run snmpit #request.skipVlans() # Add a raw PC to the request and give it an interface. node1 = request.RawPC("node1") # Must use UBUNTU18 to utilize layer 1 links. node1.disk_image = "urn:publicid:IDN+emulab.net+image+emulab-ops//UBUNTU18-64-STD" iface1 = node1.addInterface() # Specify the IPv4 address iface1.addAddress(pg.IPv4Address("192.168.1.1", "255.255.255.0")) # Add another raw PC to the request and give it an interface. node2 = request.RawPC("node2") # Must use UBUNTU18 to utilize layer 1 links. node2.disk_image = "urn:publicid:IDN+emulab.net+image+emulab-ops//UBUNTU18-64-STD" iface2 = node2.addInterface() # Specify the IPv4 address iface2.addAddress(pg.IPv4Address("192.168.1.2", "255.255.255.0")) # Add L1 link from node1 to node2 link1 = request.L1Link("link1") link1.addInterface(iface1) link1.addInterface(iface2) # Print the RSpec to the enclosing page. pc.printRequestRSpec(request) Open this profile on CloudLab"""This profile allocates two bare metal nodes and connects them directly together via a layer1 link. Instructions: Click on any node in the topology and choose the `shell` menu item. When your shell window appears, use `ping` to test the link.""" # Import the Portal object. import geni.portal as portal # Import the ProtoGENI library. import geni.rspec.pg as pg # Import the Emulab specific extensions. import geni.rspec.emulab as emulab # Create a portal context. pc = portal.Context() # Create a Request object to start building the RSpec. request = pc.makeRequestRSpec() # Do not run snmpit #request.skipVlans() # Add a raw PC to the request and give it an interface. node1 = request.RawPC("node1") # Must use UBUNTU18 to utilize layer 1 links. node1.disk_image = "urn:publicid:IDN+emulab.net+image+emulab-ops//UBUNTU18-64-STD" iface1 = node1.addInterface() # Specify the IPv4 address iface1.addAddress(pg.IPv4Address("192.168.1.1", "255.255.255.0")) # Add another raw PC to the request and give it an interface. node2 = request.RawPC("node2") # Must use UBUNTU18 to utilize layer 1 links. node2.disk_image = "urn:publicid:IDN+emulab.net+image+emulab-ops//UBUNTU18-64-STD" iface2 = node2.addInterface() # Specify the IPv4 address iface2.addAddress(pg.IPv4Address("192.168.1.2", "255.255.255.0")) # Add L1 link from node1 to node2 link1 = request.L1Link("link1") link1.addInterface(iface1) link1.addInterface(iface2) # Print the RSpec to the enclosing page. pc.printRequestRSpec(request)
"""This profile allocates two bare metal nodes and connects them together via two Dell or Mellanox switches with layer1 links. Instructions: Click on any node in the topology and choose the `shell` menu item. When your shell window appears, use `ping` to test the link. You will be able to ping the other node through the switch fabric. We have installed a minimal configuration on your switches that enables the ports that are in use, and turns on spanning-tree (RSTP) in case you inadvertently created a loop with your topology. All unused ports are disabled. The ports are in Vlan 1, which effectively gives a single broadcast domain. If you want anything fancier, you will need to open up a shell window to your switches and configure them yourself. If your topology has more then a single switch, and you have links between your switches, we will enable those ports too, but we do not put them into switchport mode or bond them into a single channel, you will need to do that yourself. If you make any changes to the switch configuration, be sure to write those changes to memory. We will wipe the switches clean and restore a default configuration when your experiment ends.""" # Import the Portal object. import geni.portal as portal # Import the ProtoGENI library. import geni.rspec.pg as pg # Import the Emulab specific extensions. import geni.rspec.emulab as emulab # Create a portal context. pc = portal.Context() # Create a Request object to start building the RSpec. request = pc.makeRequestRSpec() pc.defineParameter("phystype1", "Switch 1 type", portal.ParameterType.STRING, "dell-s4048", [('mlnx-sn2410', 'Mellanox SN2410'), ('dell-s4048', 'Dell S4048')]) pc.defineParameter("phystype2", "Switch 2 type", portal.ParameterType.STRING, "dell-s4048", [('mlnx-sn2410', 'Mellanox SN2410'), ('dell-s4048', 'Dell S4048')]) # Retrieve the values the user specifies during instantiation. params = pc.bindParameters() # Do not run snmpit #request.skipVlans() # Add a raw PC to the request and give it an interface. node1 = request.RawPC("node1") iface1 = node1.addInterface() # Specify the IPv4 address iface1.addAddress(pg.IPv4Address("192.168.1.1", "255.255.255.0")) # Add first switch to the request and give it a couple of interfaces mysw1 = request.Switch("mysw1"); mysw1.hardware_type = params.phystype1 sw1iface1 = mysw1.addInterface() sw1iface2 = mysw1.addInterface() # Add second switch to the request and give it a couple of interfaces mysw2 = request.Switch("mysw2"); mysw2.hardware_type = params.phystype2 sw2iface1 = mysw2.addInterface() sw2iface2 = mysw2.addInterface() # Add another raw PC to the request and give it an interface. node2 = request.RawPC("node2") iface2 = node2.addInterface() # Specify the IPv4 address iface2.addAddress(pg.IPv4Address("192.168.1.2", "255.255.255.0")) # Add L1 link from node1 to mysw1 link1 = request.L1Link("link1") link1.addInterface(iface1) link1.addInterface(sw1iface1) # Add L1 link from mysw1 to mysw2 trunk = request.L1Link("trunk") trunk.addInterface(sw1iface2) trunk.addInterface(sw2iface2) # Add L1 link from node2 to mysw2 link2 = request.L1Link("link2") link2.addInterface(iface2) link2.addInterface(sw2iface1) # Print the RSpec to the enclosing page. pc.printRequestRSpec(request) Open this profile on CloudLab"""This profile allocates two bare metal nodes and connects them together via two Dell or Mellanox switches with layer1 links. Instructions: Click on any node in the topology and choose the `shell` menu item. When your shell window appears, use `ping` to test the link. You will be able to ping the other node through the switch fabric. We have installed a minimal configuration on your switches that enables the ports that are in use, and turns on spanning-tree (RSTP) in case you inadvertently created a loop with your topology. All unused ports are disabled. The ports are in Vlan 1, which effectively gives a single broadcast domain. If you want anything fancier, you will need to open up a shell window to your switches and configure them yourself. If your topology has more then a single switch, and you have links between your switches, we will enable those ports too, but we do not put them into switchport mode or bond them into a single channel, you will need to do that yourself. If you make any changes to the switch configuration, be sure to write those changes to memory. We will wipe the switches clean and restore a default configuration when your experiment ends.""" # Import the Portal object. import geni.portal as portal # Import the ProtoGENI library. import geni.rspec.pg as pg # Import the Emulab specific extensions. import geni.rspec.emulab as emulab # Create a portal context. pc = portal.Context() # Create a Request object to start building the RSpec. request = pc.makeRequestRSpec() pc.defineParameter("phystype1", "Switch 1 type", portal.ParameterType.STRING, "dell-s4048", [('mlnx-sn2410', 'Mellanox SN2410'), ('dell-s4048', 'Dell S4048')]) pc.defineParameter("phystype2", "Switch 2 type", portal.ParameterType.STRING, "dell-s4048", [('mlnx-sn2410', 'Mellanox SN2410'), ('dell-s4048', 'Dell S4048')]) # Retrieve the values the user specifies during instantiation. params = pc.bindParameters() # Do not run snmpit #request.skipVlans() # Add a raw PC to the request and give it an interface. node1 = request.RawPC("node1") iface1 = node1.addInterface() # Specify the IPv4 address iface1.addAddress(pg.IPv4Address("192.168.1.1", "255.255.255.0")) # Add first switch to the request and give it a couple of interfaces mysw1 = request.Switch("mysw1"); mysw1.hardware_type = params.phystype1 sw1iface1 = mysw1.addInterface() sw1iface2 = mysw1.addInterface() # Add second switch to the request and give it a couple of interfaces mysw2 = request.Switch("mysw2"); mysw2.hardware_type = params.phystype2 sw2iface1 = mysw2.addInterface() sw2iface2 = mysw2.addInterface() # Add another raw PC to the request and give it an interface. node2 = request.RawPC("node2") iface2 = node2.addInterface() # Specify the IPv4 address iface2.addAddress(pg.IPv4Address("192.168.1.2", "255.255.255.0")) # Add L1 link from node1 to mysw1 link1 = request.L1Link("link1") link1.addInterface(iface1) link1.addInterface(sw1iface1) # Add L1 link from mysw1 to mysw2 trunk = request.L1Link("trunk") trunk.addInterface(sw1iface2) trunk.addInterface(sw2iface2) # Add L1 link from node2 to mysw2 link2 = request.L1Link("link2") link2.addInterface(iface2) link2.addInterface(sw2iface1) # Print the RSpec to the enclosing page. pc.printRequestRSpec(request)
12.7 Portal API
The CloudLab portal provides an API that makes it possible to programmatically instantiate, interact with, and terminate experiments.
We provide a Python client library containing both programmatic API bindings and an interactive CLI tool: see https://gitlab.flux.utah.edu/emulab/portal-api. Its README file provides comprehensive instruction on installation and usage. We also provide auto-generated API documentation built from the OpenAPI description that includes both CLI and Python examples for each RESTful endpoint.
The Portal API is under active development, so please let us know (see the Getting Help section) if an existing feature you need is not yet exposed in the API.
12.8 Legacy Portal API
The legacy Portal API should be considered deprecated.
We provide a Python library to interact with the legacy XMLRPC Portal API: see https://gitlab.flux.utah.edu/stoller/portal-tools. Its README file provides comprehensive instruction on usage, and the repository also contains an API description.